
The scrappy stripquilt tutorial
Hi,
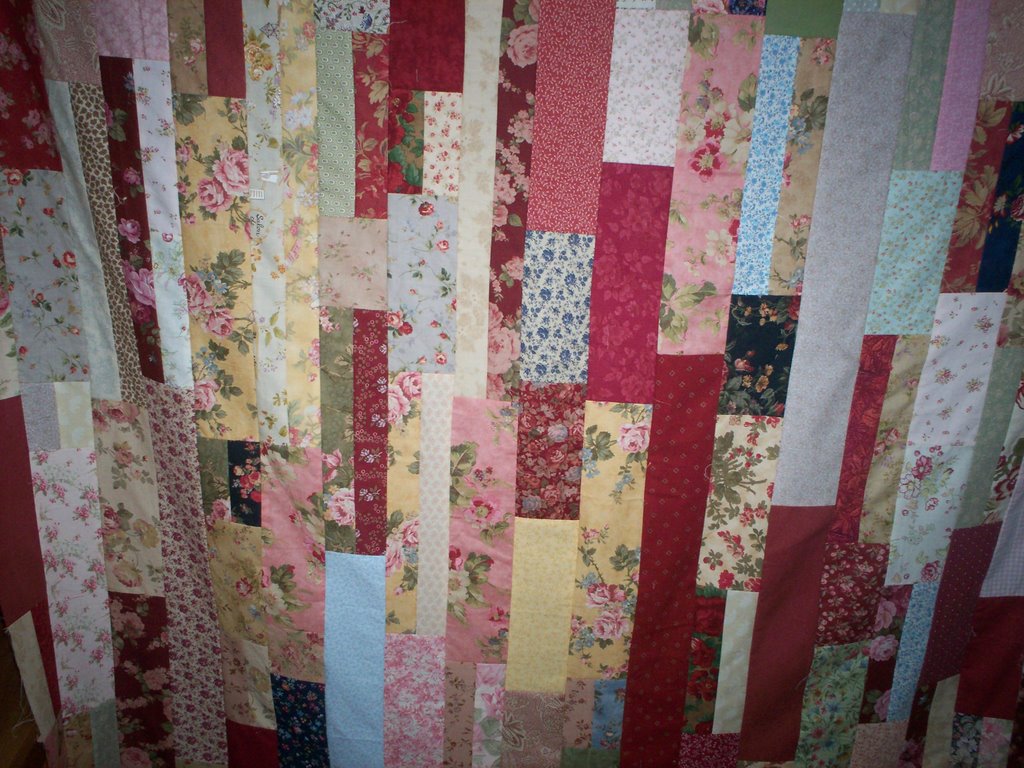
Here is are some instructions on how to make this super-easy strip quilt. I make this type of quilt often when I have leftover strips.
I make one for my friend Karin: and the baby quilt
You can make this quilt out left-over scraps or just normal scraps, but this is how you can do it if you have the more left-over type of scraps,
step 1
Determine what size your scraps are and make the strips as big as your smallest scrap allows you to cut. I mostly cut mine 2,5 inch. As you can see on Karin's quilt I didn't have enough, so I put smaller pieces together and then trimmed them to become the 2,5 inch width I needed.
Step 2
Leave the smaller strips just the way they are and the really big ones you can cut into 2 pieces. Don't care about the size! This will make it even easier to put together!
Step 3
Sort all the scrap strips into 2 pills, dark and light.
Step 4
start sewing light to dark until you get one enormous long strip. (the short sides together ;-))
Step 5
Measure this strip and start calculating. You need to divide the length of the enormous strip width the length you want the quilt to have. You then know how many strips you will get out of the total length. Then multiply with the width of the strips and you know the size of you quilt. Here is an example to explain it:
for instants: For Karins quilt I had a strip that was 44 yards long.
If wanted to make the quilt 86 inches long I would have gotten 18 strips. 18 strips that are 2,5 inch wide sewn together would have been 45 inch which is not wide enough for a quilt. So I had to make my quilt shorter to get it to be wider. So at the end it became a plaid that was 62 inch long and 60 inches wide.
So you have to keep calculating so you get a size that is right for you.
-for people who want it in cm:
I had a long strip that was about 40 meters long. If I wanted the quilt to be 2.20m long it would have only gotten 1.10 m wide, which was to small. But when I made it 160 long it became 150 wide, plaid size.
Step 6
When you know the size of your strips you measure and cut to get your number of strips.
Step 7
Just sew all the strips together. There are no seams here that have to go together, you just sew.
Step 8
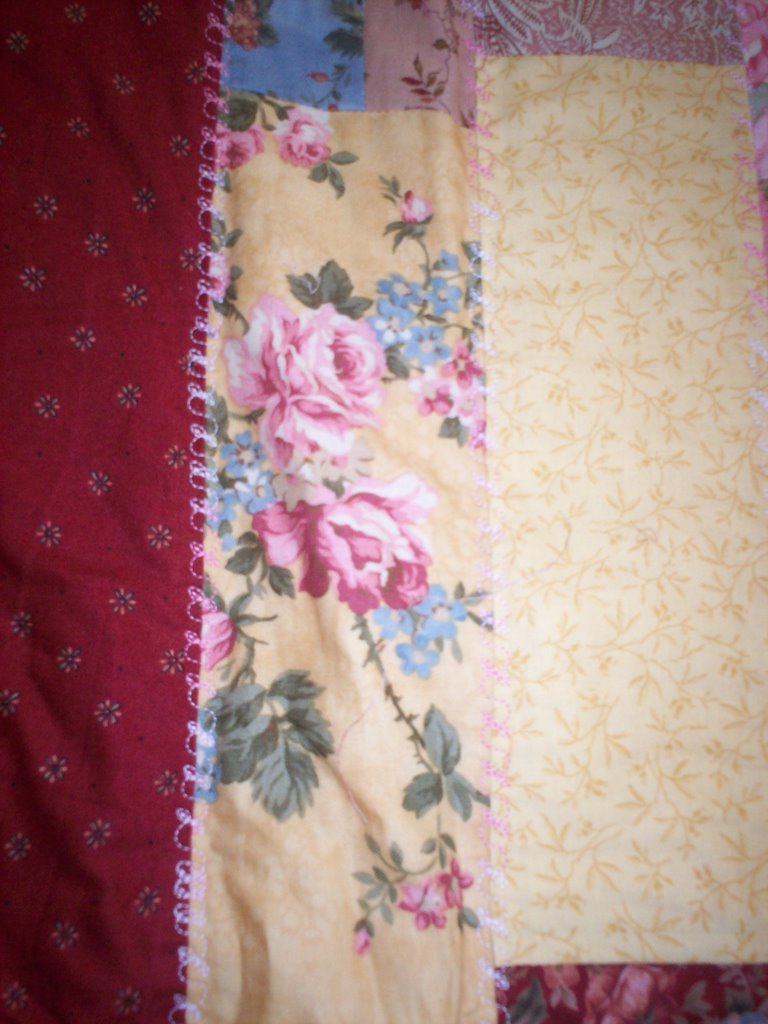
You can quilt it with a nice embroidery stitch on your machine if you have that.
like this:
Step 9
Make your quilt square by trimming the top and bottom and but the binding on!
Done!
Here is are some instructions on how to make this super-easy strip quilt. I make this type of quilt often when I have leftover strips.
I make one for my friend Karin: and the baby quilt
You can make this quilt out left-over scraps or just normal scraps, but this is how you can do it if you have the more left-over type of scraps,
step 1
Determine what size your scraps are and make the strips as big as your smallest scrap allows you to cut. I mostly cut mine 2,5 inch. As you can see on Karin's quilt I didn't have enough, so I put smaller pieces together and then trimmed them to become the 2,5 inch width I needed.
Step 2
Leave the smaller strips just the way they are and the really big ones you can cut into 2 pieces. Don't care about the size! This will make it even easier to put together!
Step 3
Sort all the scrap strips into 2 pills, dark and light.
Step 4
start sewing light to dark until you get one enormous long strip. (the short sides together ;-))
Step 5
Measure this strip and start calculating. You need to divide the length of the enormous strip width the length you want the quilt to have. You then know how many strips you will get out of the total length. Then multiply with the width of the strips and you know the size of you quilt. Here is an example to explain it:
for instants: For Karins quilt I had a strip that was 44 yards long.
If wanted to make the quilt 86 inches long I would have gotten 18 strips. 18 strips that are 2,5 inch wide sewn together would have been 45 inch which is not wide enough for a quilt. So I had to make my quilt shorter to get it to be wider. So at the end it became a plaid that was 62 inch long and 60 inches wide.
So you have to keep calculating so you get a size that is right for you.
-for people who want it in cm:
I had a long strip that was about 40 meters long. If I wanted the quilt to be 2.20m long it would have only gotten 1.10 m wide, which was to small. But when I made it 160 long it became 150 wide, plaid size.
Step 6
When you know the size of your strips you measure and cut to get your number of strips.
Step 7
Just sew all the strips together. There are no seams here that have to go together, you just sew.
Step 8
You can quilt it with a nice embroidery stitch on your machine if you have that.
like this:
Step 9
Make your quilt square by trimming the top and bottom and but the binding on!
Done!
posted by Pink and Barbara at 8:18 PM
8 comments
![]()
![]()


